
You wait ages to be published and then two come along at once.
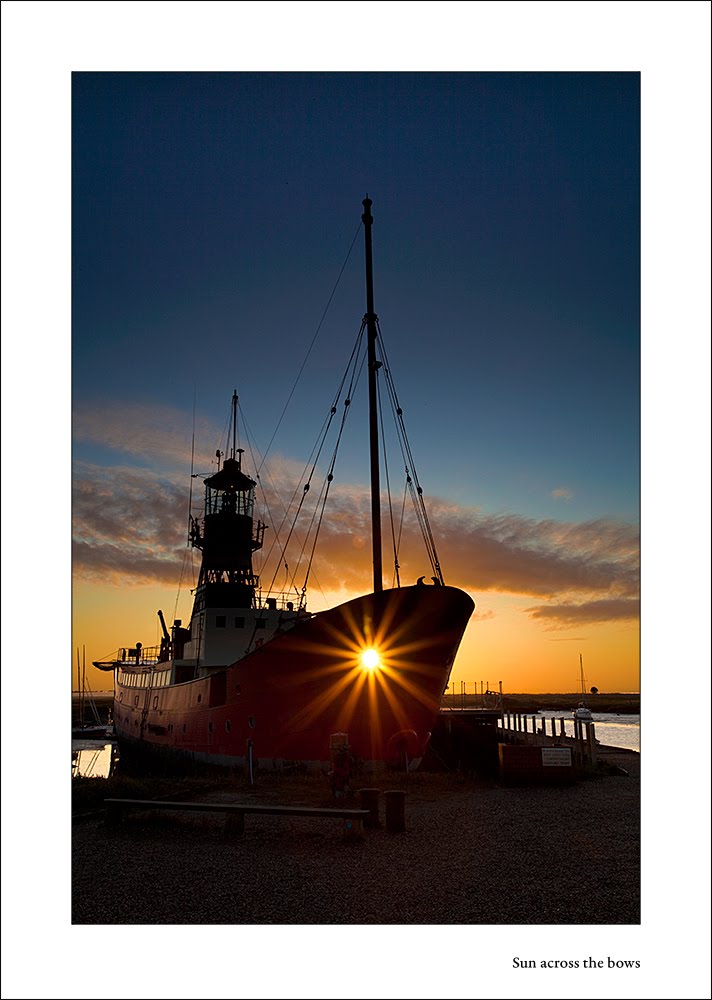
The January edition of the excellent UK magazine Outdoor Photography has an article by yours truly on Thorpe Bay.
This is the image used in the article.


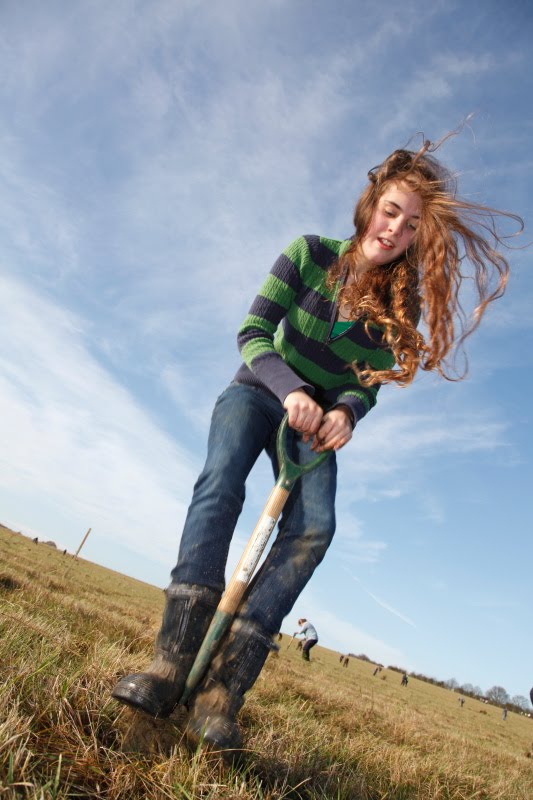

 Although they didn't beat the record, they have created the beginnings of a new wood. Hopefully all the volunteers will be able to wander through that wood in twenty years time and enjoy the results of their hard work.
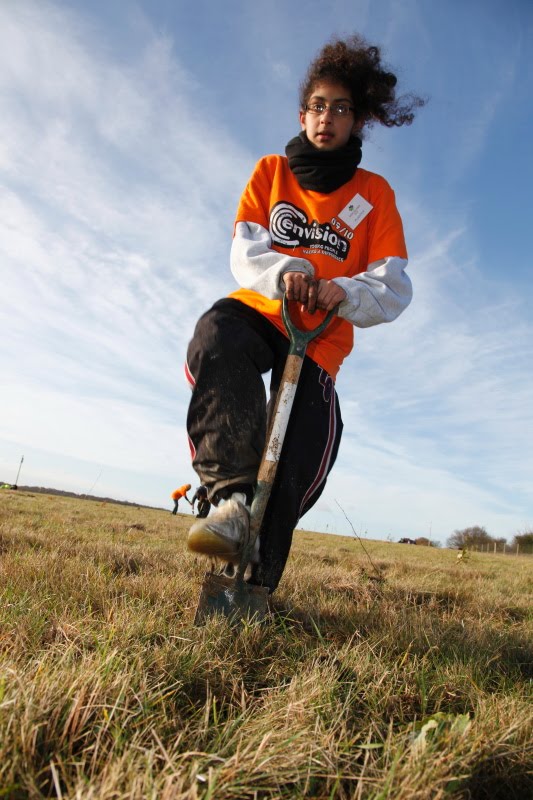


Traps Hill
Loughton
Essex IG10 1HD
Telephone: 020 8502 0181
.PSD is now a bastardized file format that is NOT a good idea to use. Even the Photoshop engineers will tell you that PSD is no longer the Photoshop "native" file format. It has no advantages and many disadvantages over TIFF.
TIFF is publicly documented, PSD is not. That makes TIFF a preferred file format for the long term conservation of digital files.
TIFF uses ZIP compression for max compression, PSD uses RLE which if you save without the Max compatibility will be a bit smaller, but at the risk of not being able to be used by apps, like Lightroom.
TIFF can save EVERYTHING a PSD can save including layers, paths, channels, transparency, annotations and can go up to 4 GIGS in file size. TIFF can save all the color spaces PSD can. The ONLY thing I can think of that PSD can save that currently TIFF can't save is if you Save out of Camera Raw a cropped PSD, you can uncrop the PSD in Photoshop CS, CS2 or 3. That's one tiny obscure thing that PSD can do that TIFF currently doesn't. How many people even knew that let alone use it?
PSD used to be the preferred file format back before Adobe bastardized it for the Creative Suite. The moment that happened, PSD ceased to be a Photoshop "native" file format. PSB is the new Photoshop "native" file format for images beyond 30,000 pixels. And , at the moment, only Photoshop can open a PSB.
Getting back to the fist point, Adobe can do anything including stopping support for PSD because it's a proprietary file format. TIFF is public, even if it's owned by Adobe (by virtue of the Aldus purchase). Even if Adobe went belly up tomorrow, TIFF would continue.
And, let me be blunt, anybody who thinks PSD is "better" than TIFF is ignorant of the facts. If Adobe would let them, the Photoshop engineers would tell you to quit using PSD. Lightroom for the first beta did NOT support PSD and Hamburg fought tooth and nail to prevent having to accept PSD. He blinked, but you still can't import a PSD without Max compat enabled-which basically makes it a TIFF with a PSD extension.
Look, I'll make it REAL simple...
TIFF = Good
PSD = Bad
Ok?
 Hermit Crab by Brian Griifiths
The integrity of the image must be maintained and the making of physical changes to the landscape is not permitted (removing fences, moving trees, stripping in sky from another image etc). The organisers reserve the right to disqualify any image that they feel lacks authenticity due to over-manipulation.,is beyond me!
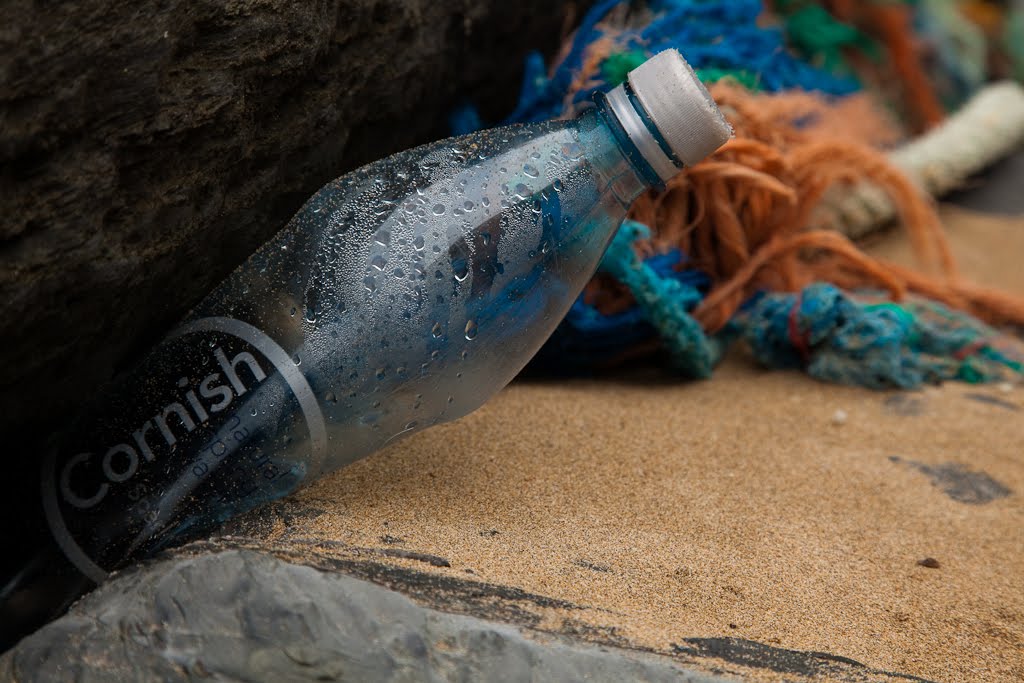 Cornish Crap
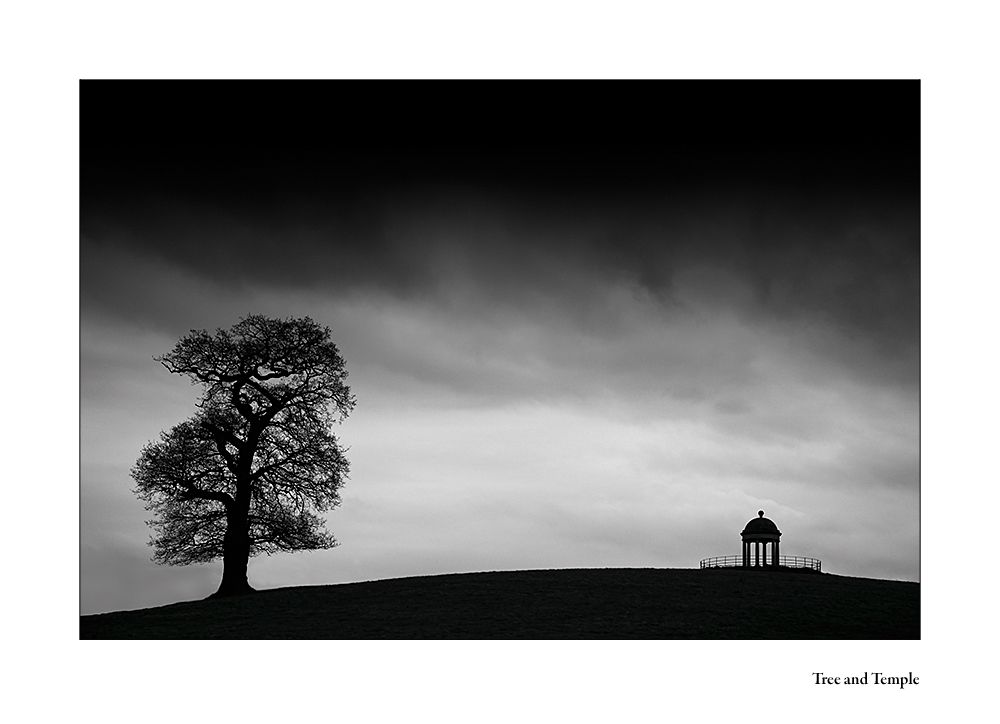 Tree and Temple
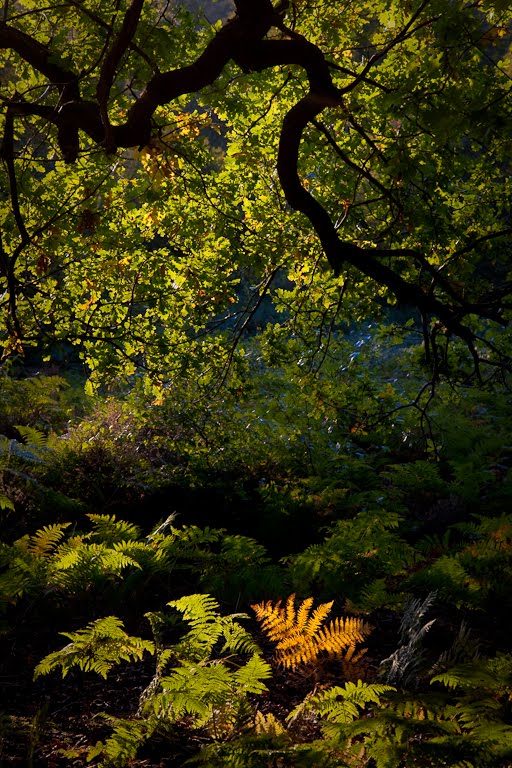 A Fern in the Dark
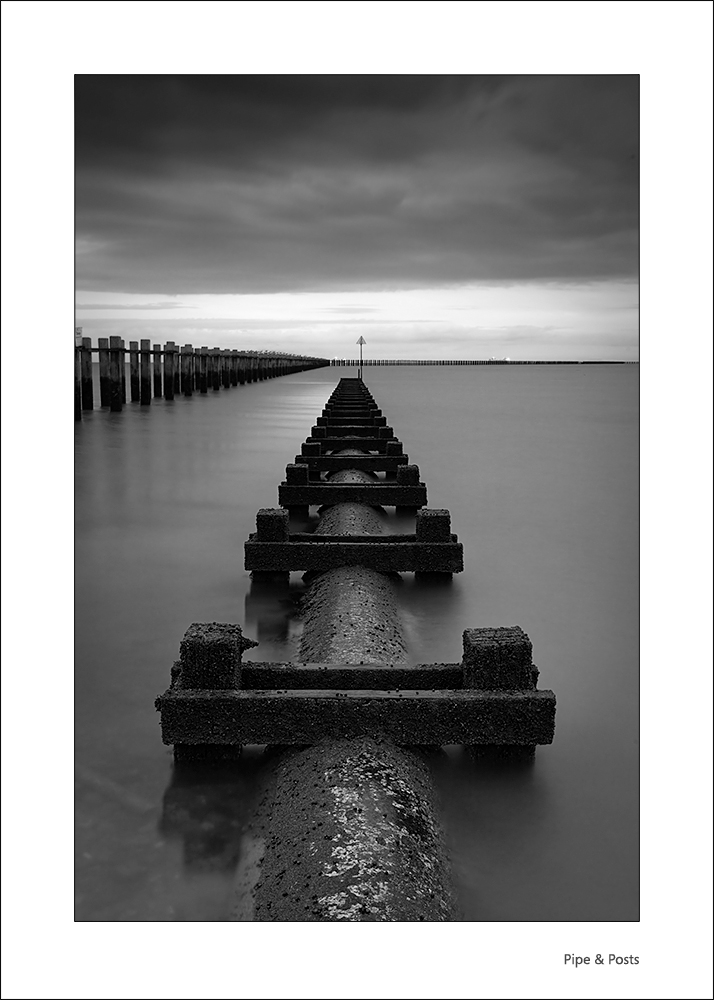 Posts & Pipe
 Mr December
 Safe in the Web
 Japan 2007
 Next time you run your export it will happily go to the directory you want. Simples!
 Trevaunance Cove
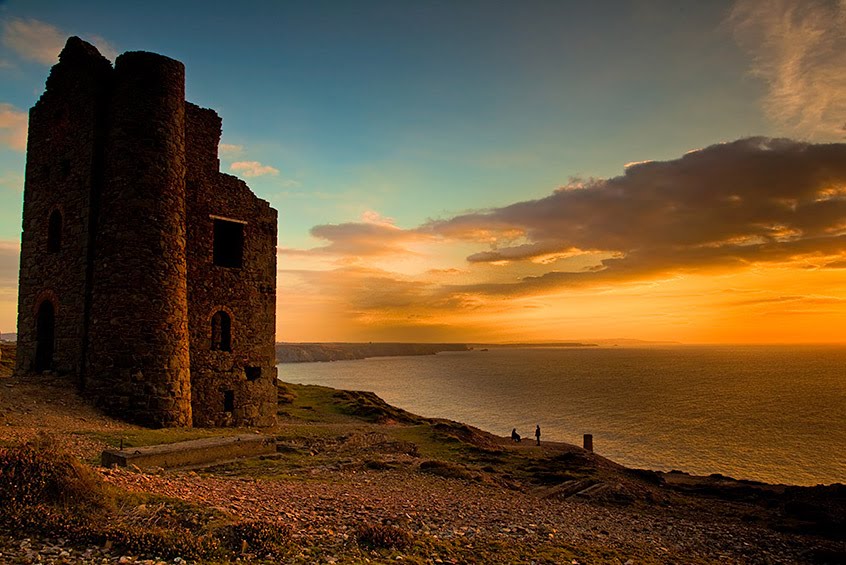 Wheal Coates


 iView Catalog Set hierarchy for places
Const ivKeywordSetName = "Places"
const filePath = "C:\iViewCategories.txt"
 Keyword Hierachy in Lightroom


<input name="item_name" value="(iView:Headline) (iView:Item1Description)" type="hidden" >

Const ivKeywordSetName = "Keywords" Const ivKeywordSetName = "Places"
We must work together now to stop this before photography becomes a part of history rather than a way of recording it


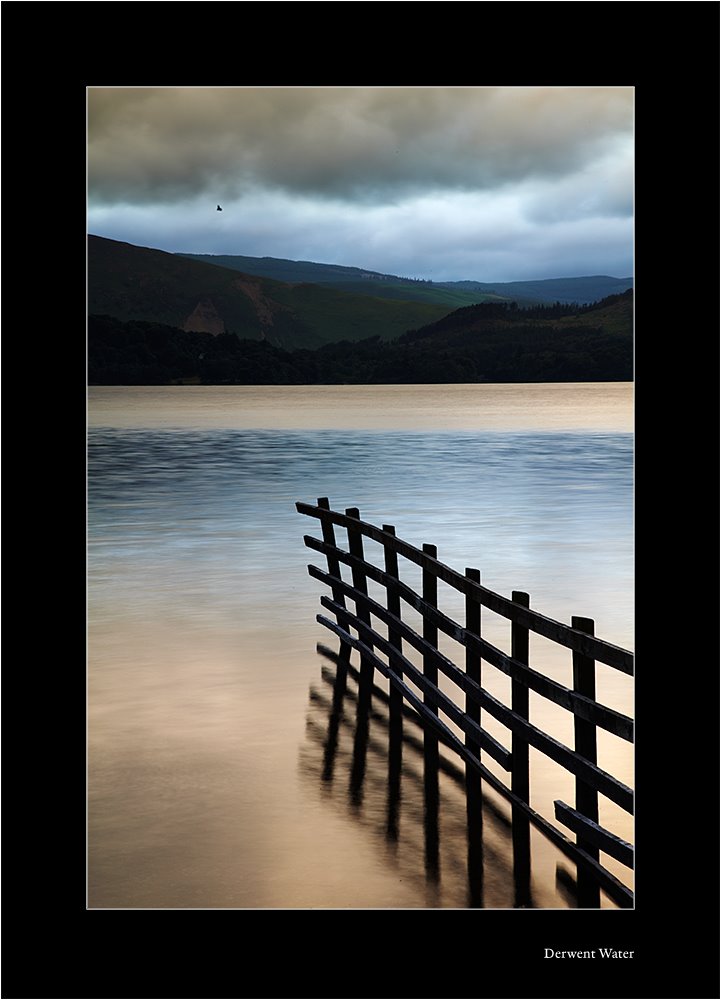 Derwent Water
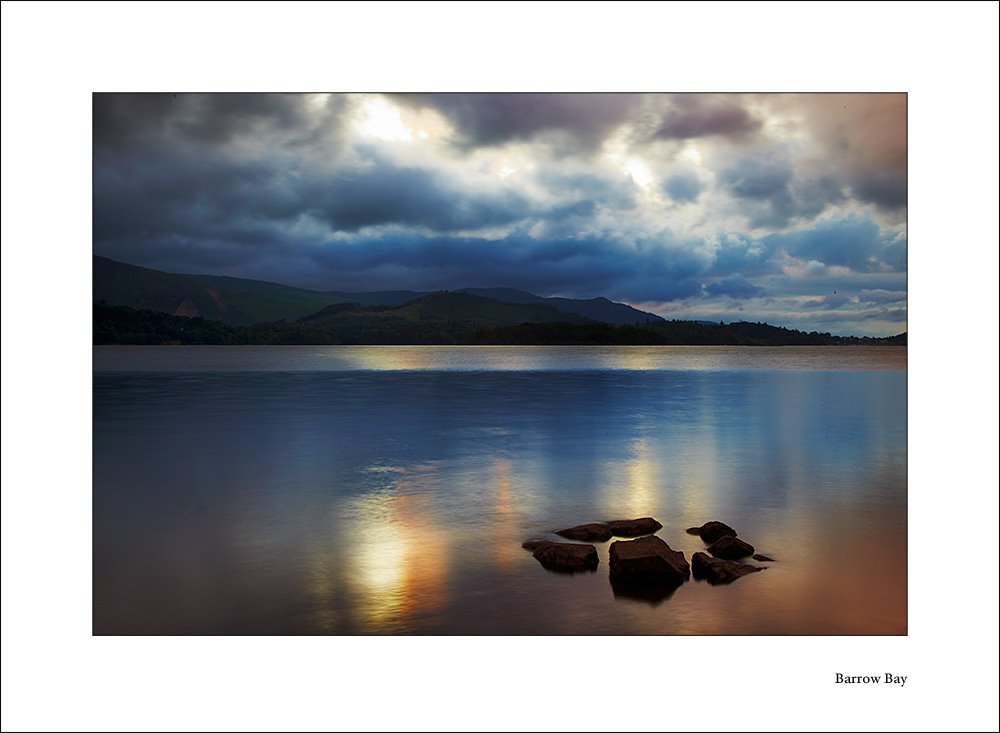 Barrow Bay
 Cutting the Cake
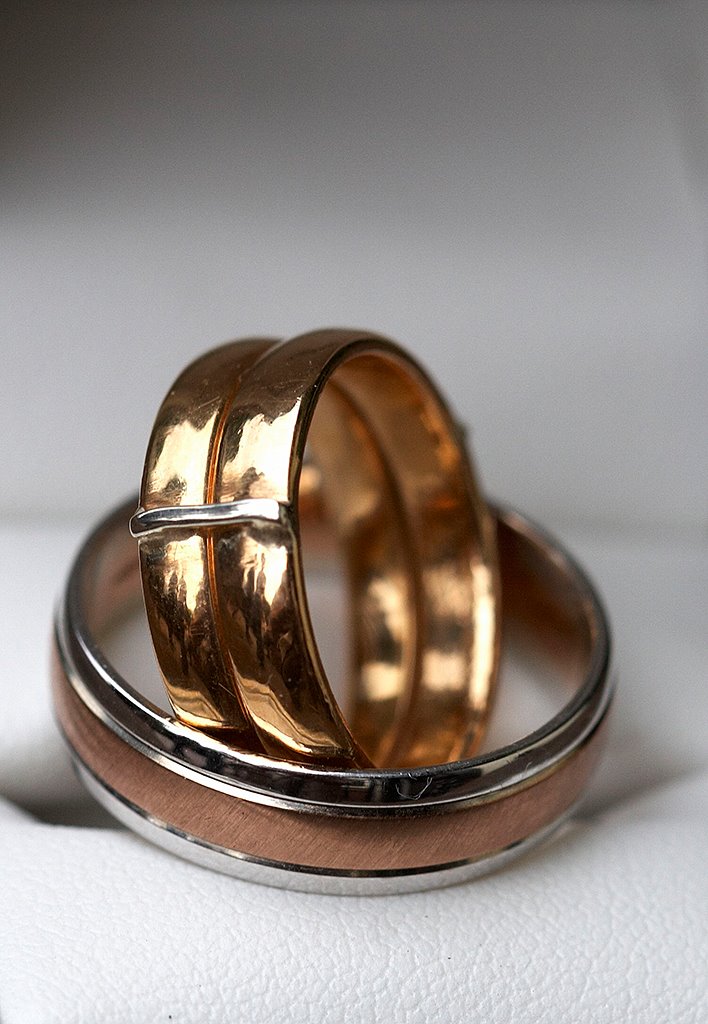 The Rings
 Remains of the Day