I'm running out of space in my brain, every day more and more trivia fills it up, I'm worried that if I keep learning stuff it'll push out the important stuff and I'll forget where I live or my wife's name!
It's amazing the complete tosh in there, from my days (many years ago) working in PC support I still remember such trivia as how to get a pound sign on lotus 123 release 1
(Alt + F1 L = if you are interested...I know your not) and what all the error numbers on an HP Laserjet 4 mean! With rubbish like that in there it won't be long before my brain just packs up from storing too much useless information.
The thing is, a large complicated product like Photoshop is just much easier to use if you know the shortcut keys. But you have to remember those keys and there is just no space left in my head to remember them all. So I decided I needed a
photoshop keyboard to save on all that brain space and leave me room to remember where I left the car keys! The problem with this idea is that these are really only aimed at desktop PCs or Macs and I wanted to use them on my Dell Laptop.
So I decided to try
EditorsKeys which is a set of sticky labels you can put on the top of your existing keyboard - ideal for laptop users. The stickers cost nine of the queens pounds, so I placed my order and the goods arrived the next day...brilliant!
Well the good news is that the stickers work well, this is not the cheap or shoddily made product that the word "stickers" conjurers up. Application is easy: first clean the keyboard with the supplied cleaner and then with the help of their neat little applicator thingy stick the labels on to your keyboard.
One small issue occurs if you have a laptop: many of the laptops functions are accessed by various special key combinations which are usually marked on the key tops. If you put a sticker over them you lose the indicator of how to change those laptop functions. So you need to decide if the laptop functions are more important than the Photoshop functions...looks like you can't get away without remembering something!
In use, they do exactly what they say on the tin and speed things up as you can find keys really quickly and easily.
As for downsides, first all your keyboard colours have changed - it's still taking me a while to get used to the shock when I look down at the keyboard! To be fairyou should really expect that though! Occasionally the edges of the stickers slightly catch my fingers as I am typing which is a bit irritating but is already starting to disappear with a bit of use.
The thing I have realised I would want from EditorsKeys is an extra sticker/card covering a lot of the other commonly used shortcuts that are got at via the ctrl & alt keys. There is not room on the keyboard to show them all but I would like to have them readily to hand as these are even harder to remember.
I would recommend
EditorKeys as they work well and are a great talking point when you open your laptop.
If you would like to try to remember some useful Photoshop shortcuts why not take a look at these two links:
Photoshop ShortcutsMore Photoshop shortcuts

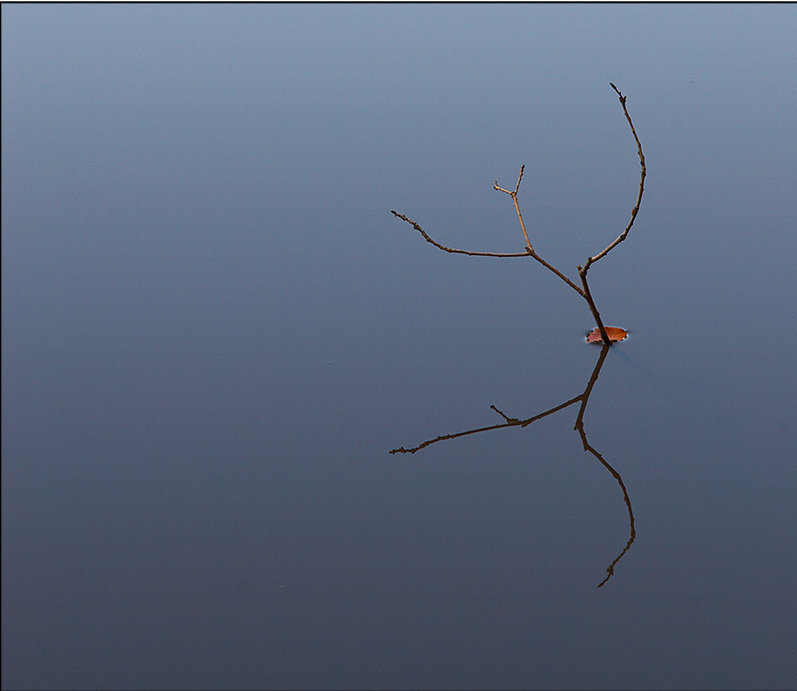 Stillness


